Tutorial#
In this tutorial we will introduce the components of blueprints and give a run down of mujocos core building blocks. Our task will be to reconstruct the famous Ant Gym environment in the style of a formicarium from scratch and while we are at it, provide it with some updates to tackle a rough terrain environment. In the first part we will define the World and in the second part we will integrate it into a gym env.
World Creation#
We start off creating the kinematic structure of our agent by creating a Body. Bodies serve as Nodes that define the Agents skeletons configuration — i.e. which body part is connected to which other at which point.
Embodiment#
>>> import blueprints as blue
>>> torso = blue.Body(name='torso')
>>> torso
Body<torso:0>
This Thing will serve as the root of our ants kinematic hierarchy. Its representation displays a name and an ID. IDs are useful if to keep track of copies.
Bodies are Moveable meaning they have a position and an orientation in 3D space. MoveableThings can be positioned using either pos or x, y and z arguments/attribute and oriented using alpha, beta and gamma (improper) Euler angles.
At the moment the Body is just a single formless node. To give it some shape we can attach Geoms to it.
>>> sphere = blue.geoms.Sphere(radius=0.25)
>>> sphere
Sphere<anonymous_sphere:1>
>>> torso.attach(sphere)
>>> torso.geoms[0]
Sphere<anonymous_sphere:2>
Attaching the Sphere has created a copy of it.
Now that our ants torso has some shape, we continue with its hips. Instead of defining every hip separately (as we would have to in XML) we will build a hip just once and attach modified copies of it to the torso, that have new orientations.
>>> hip_geom = blue.geoms.Capsule.from_points([0, 0, 0], [0.2, 0.2, 0.0], radius=0.08)
>>> hip_geom
Capsule<anonymous_capsule:3>
>>> hip = blue.Body(name='hip', geoms=hip_geom)
>>> hip.geoms[0]
Capsule<anonymous_capsule:5>
This time we first create the Geom and initialize the upper legs Body with the uleg_geom as an additional argument, thereby creating copy of it. To construct the Capsule we use the :meth:from_points <blueprints.tube.from_points>` constructor (to not worry about orientations).
Note
Coordinates and orientations are generally local in blueprints, which means that global positions and orientations are dependent on a Things predecesors in the kinematic hierarchy.
Now we attach four hips to the torso. Using the rotate constructor, we create four copies of the rotated hips and rotated about \(\frac{0}{4} \tau\), \(\frac{1}{4} \tau\), \(\frac{2}{4} \tau\) and \(\frac{3}{4} \tau\) radians around the Z axis (\(\tau = 2 \times \pi\) have a look at Tau Manifest).
>>> hips = (hip.rotate(gamma=blue.TAU/4 * i) for i in range(4))
>>> torso.attach(*hips)
Note
Orientations in Euler angles are performed in order alpha radians around the X-axis, beta radians around the Y-axis and gamma radians around the Z-axis. Helpful rotation subroutines can be found in blueprints.Rotation.
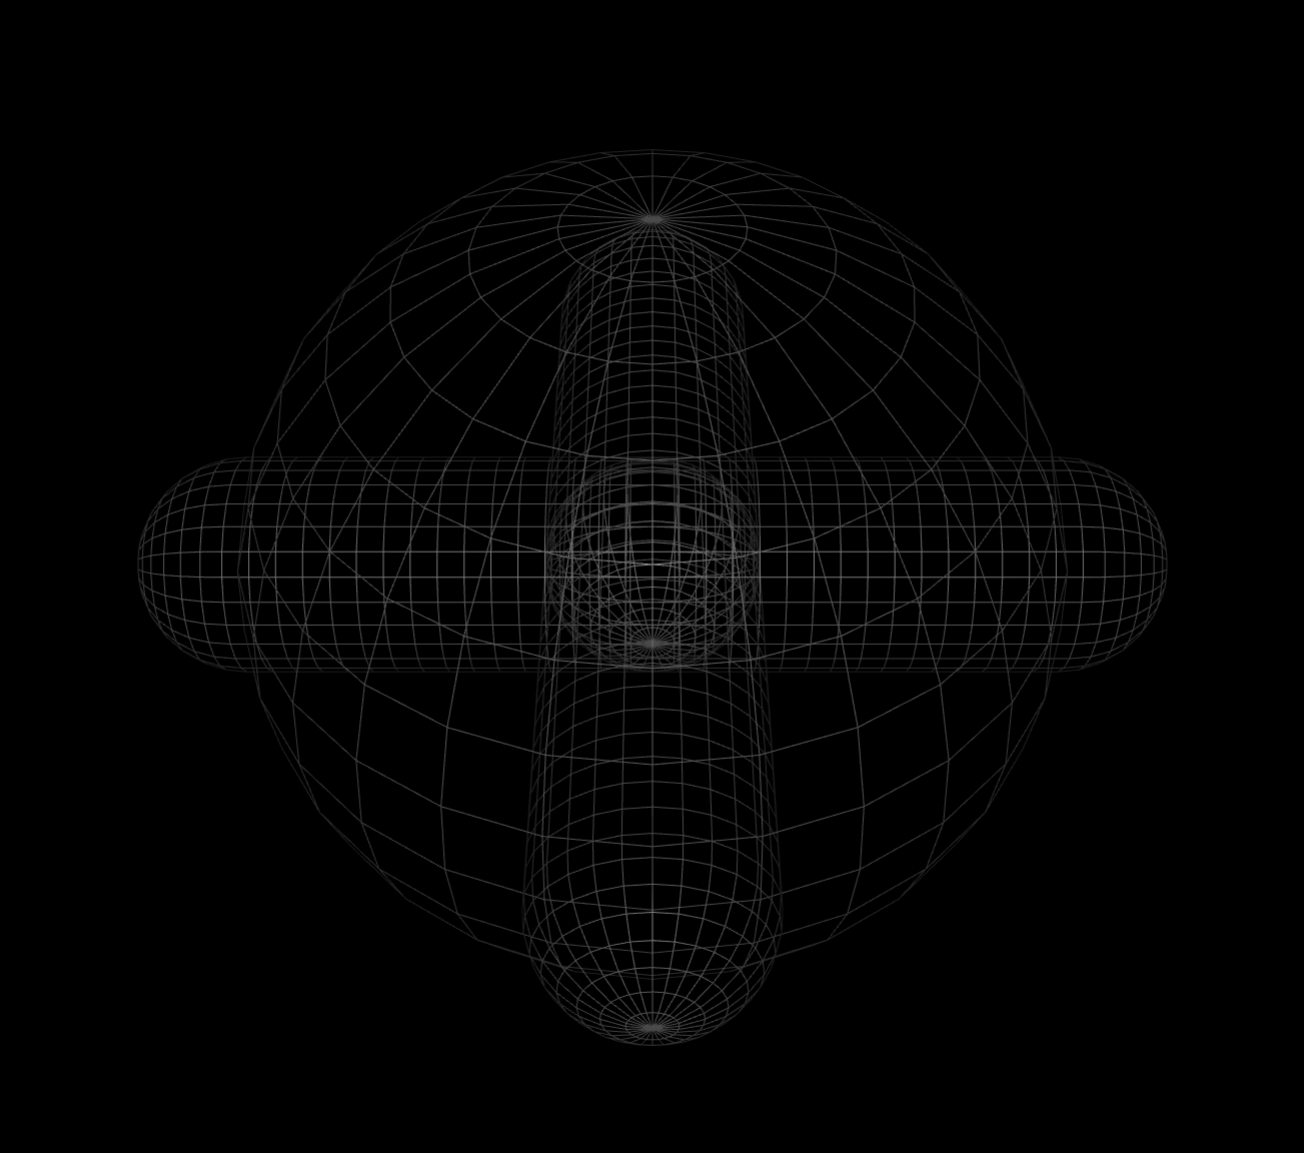
You can take a look at how the ant looks so far by using:
>>> torso.view()
The image below additionally highlights wireframe to reveal the internal hip structure.

Next we will build a leg — top to bottom. The upper leg should be able to rotate around its attachment point left to right at the hip, so we need to define a (Hinge) Joint rotating around the Z-axis.
>>> uleg_geom = blue.geoms.Capsule.from_points([0, 0, 0], [0, 0.3, 0], radius=0.08)
>>> uleg_hinge = blue.joints.Hinge(axis=[0, 0, 1],
>>>                                range=[-blue.TAU/12, blue.TAU/12])
>>> uleg = blue.Body(name='upper_leg',
>>>                  geoms=uleg_geom,
>>>                  joints=uleg_hinge,
>>>                  y=0.3)
The Hinge joint takes a range argument specifying how far the joint can be moved. Note that we offset the uleg y coordinate by \(0.3\) to align with the point at which the (later parent) hip ends. Next we build the lower leg, this time using a Hinge that rotates around the X-axis.
>>> lleg_geom = blue.geoms.Capsule.from_points([0, 0, 0], [0, 0.1,-0.6], radius=0.08)
>>> lleg_hinge = blue.joints.Hinge(axis=[-1, 0, 0],
>>>                                range=[-blue.TAU/12, blue.TAU/8])
>>> lleg = blue.Body(name='lower_leg',
>>>                  geoms=lleg_geom,
>>>                  joints=lleg_hinge,
>>>                  y=0.3)
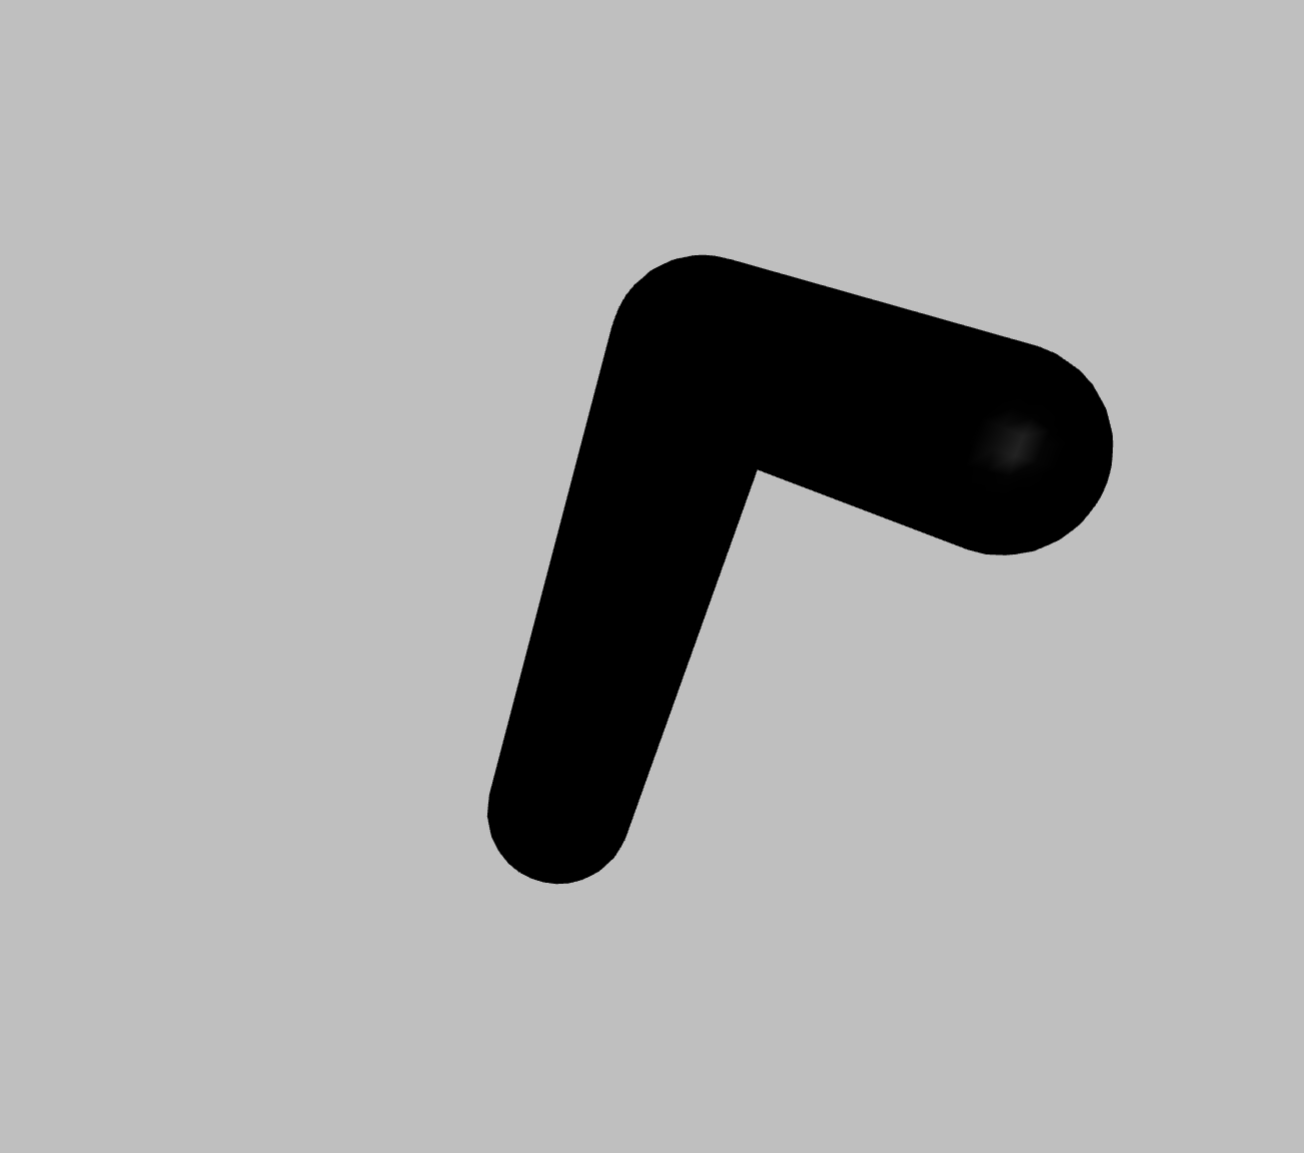
We now attach the lower leg to the upper leg and have a quick look at it, to see whether everything looks and moves as expected.
Hint
To grab objects in the Mujoco viewer simply double click them an either rotate them holding ctrl with left mouse button or drag them holding ctrl with the right mouse button.
>>> uleg.attach(lleg)
>>> uleg.view()
We will deal with the twichiness of the legs later when we set Joint parameters.
Lastly we want to attach the leg(s) to the torso at the hips. Instead of iterating over all Body children of torso and attaching uleg to it we can use Blueprints Views which provides many ways of parallelizing such operations in a single command.
>>> torso.bodies
View[4|torso.bodies]
>>> torso.bodies.name
['hip', 'hip', 'hip', 'hip']
>>> torso.bodies.attach
ViewFunction[4|torso.bodies.attach]
Every child property of a NodeThing — i.e. Bodies, Joints, Worlds, or anything else that has Things attached to it — can be obtained as a View, which bundles attribute and method calls together. The first number in the representation of the View displays the number of Things contained in it. So to attach the legs we can simply …
>>> torso.bodies.attach(uleg)
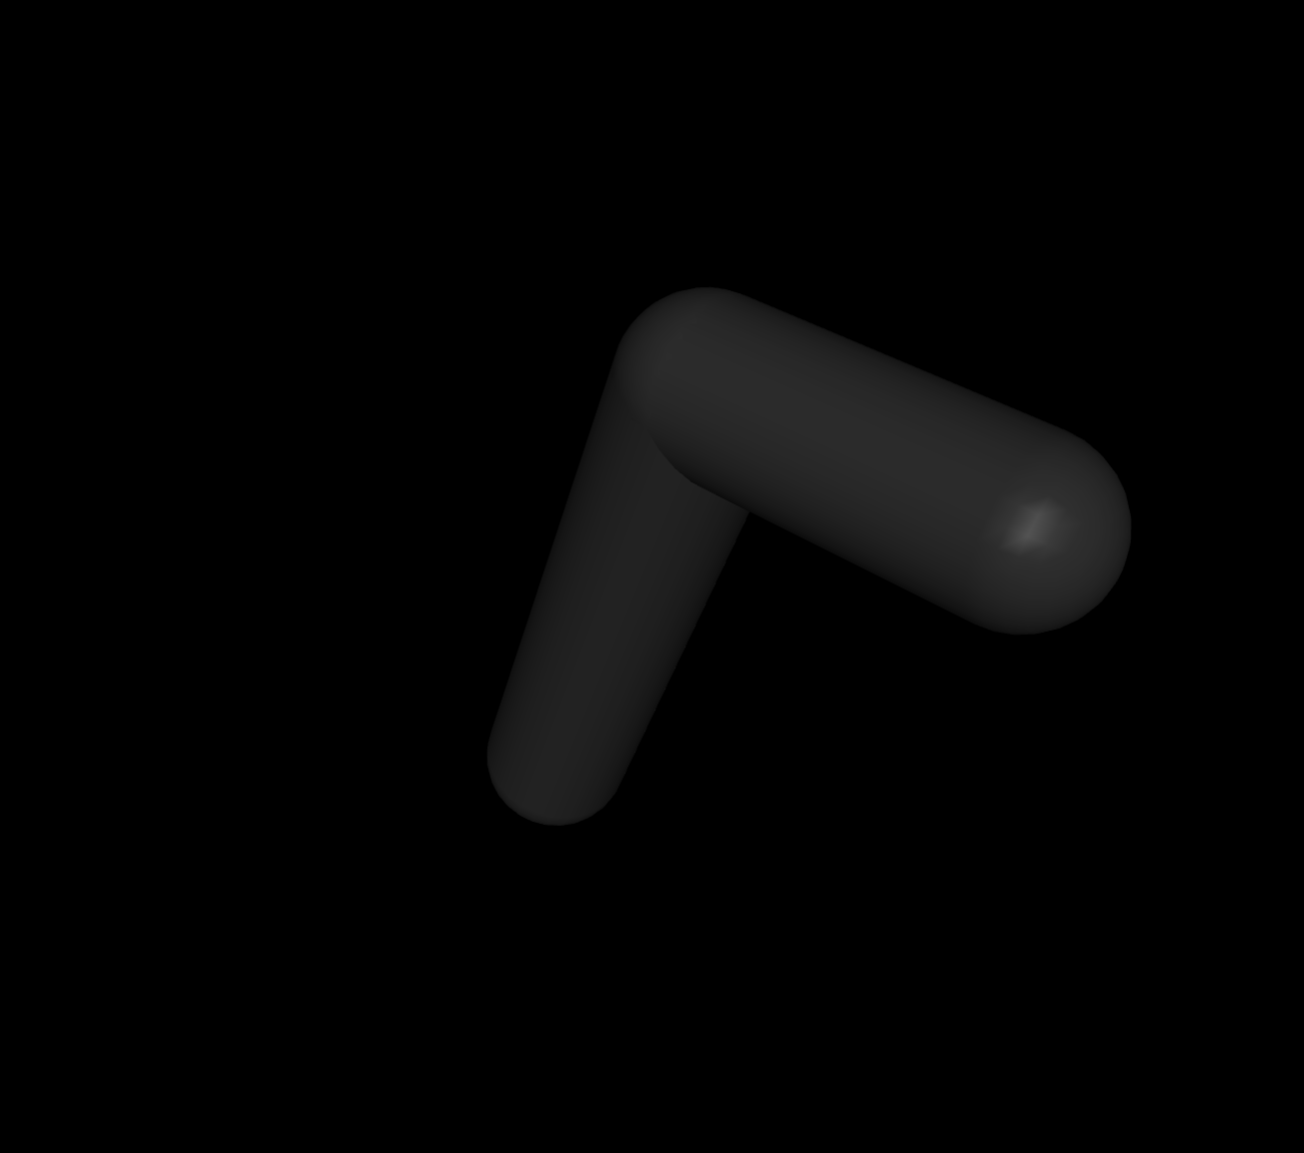
>>> torso.view()
... et voilà — we have attached legs to all hips!
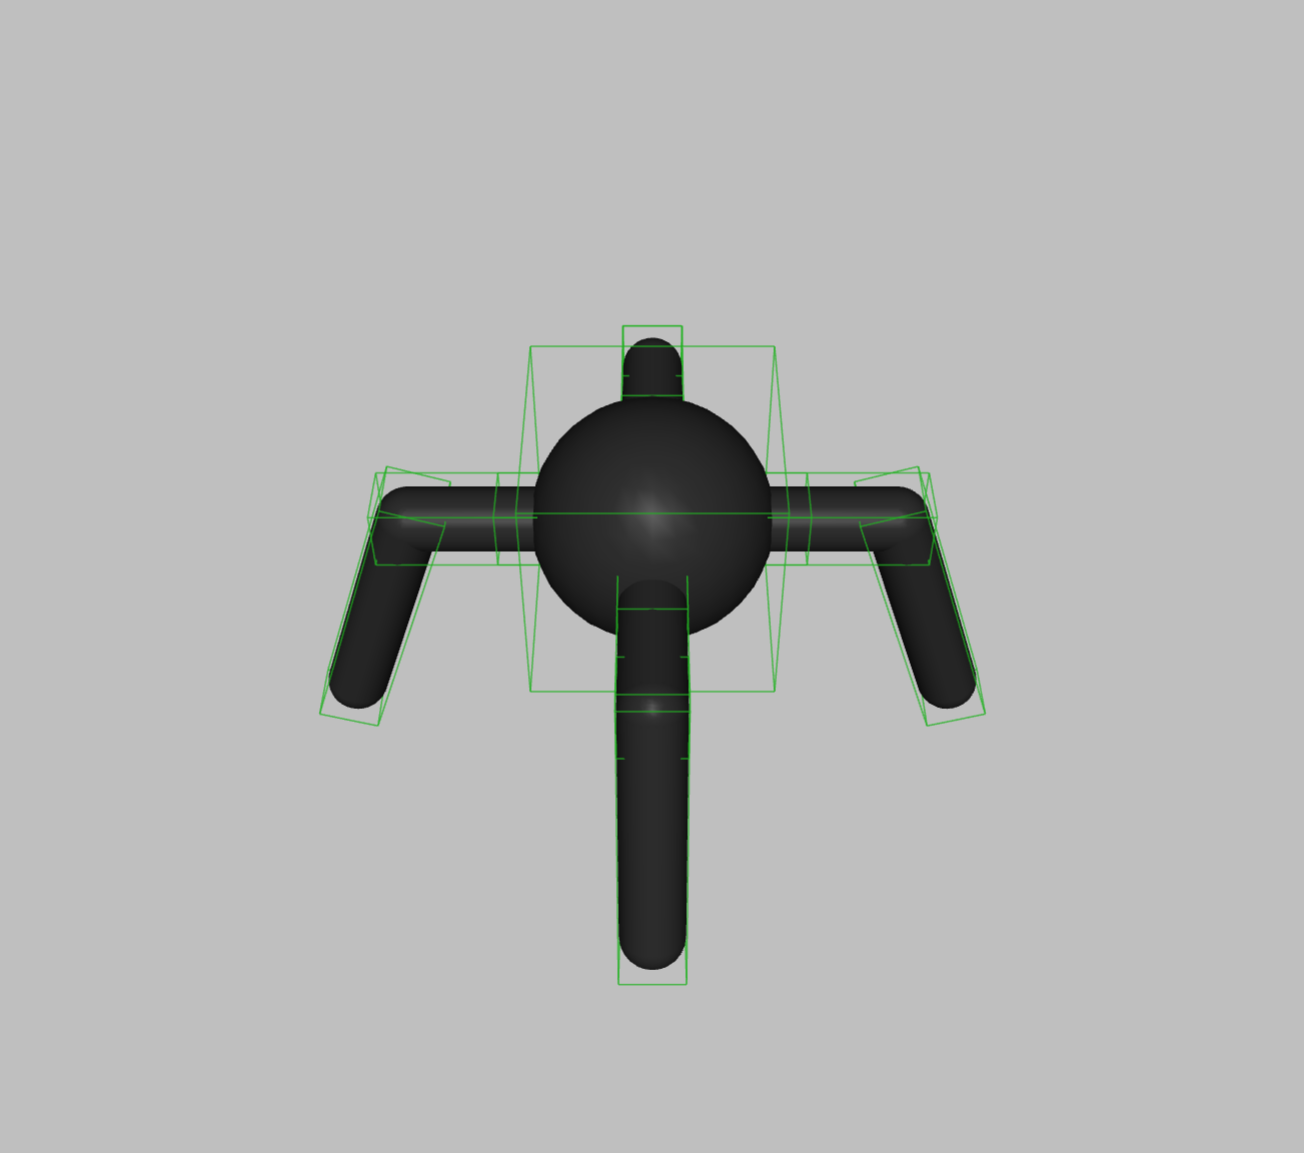

In the image above only renders the ants wireframe to make the highlighted Joints better visible.
So far we have recreated the original gym ant fairly accurately, but no we will diverge to make it ready to tackle uneven grounds. You will have noticed, that the ants upper legs only move on one axis — the left to right Z-axis. But to make a step up- or downwards it should also be able to move its upper legs along the X-axis.
>>> hinge = blue.joints.Hinge(axis=[1, 0, 0], range=[-blue.TAU/12, blue.TAU/8])
>>> torso.bodies.bodies.attach(hinge)
By attaching to torso.bodies.bodies we are chaining the children Views down from the torso one step to the hip` bodies and then another to the ``upper leg bodies at which point we can attach the additional Hinge.
Next we will enable the ant to move its joints with some Actuators.
>>> motor = blue.actuators.Motor(ctrlrange=[-1, 1], gear=[150])
>>> torso.all.joints.attach(motor)
In the Mujoco viewer you can test out the effect of each actuator within the Control tab. You will probably find, that the ants legs are a bit twitchy. To deal with this we can modify some Joint attributes making its legs a bit more stable.
>>> torso.all.joints.armature = 1
>>> torso.all.joints.damping = 1
If you try out torso.view() now you should see the legs movement has become more stable. We will also modify some physical properties of the Geoms.
>>> torso.all.geoms.density = 5.0
>>> torso.all.margin = 0.01
>>> torso.all.geoms.sliding_friction = 1
>>> torso.all.geoms.torsional_friction = 0.5
>>> torso.all.geoms.rolling_friction = 0.5
In the second line you can see, that we are setting the attribute margin for all children of the torso to 1cm. But not all children of the torso (Joints, other Bodies etc.) do have this attribute. Blueprints keeps track of this in the background and only assigns the value to those Things, for which the attribute margin is valid.
Now that we have an ant that can move its body we would also like it to sense its surroundings. We can use Joint Sensors to later (during the simulation) get some data on the ants pose.
>>> position = blue.sensors.JointPos()
>>> velocity = blue.sensors.JointVel()
>>> torso.all.joints.attach(position, velocity)
The joint position and velocity sensors retrieve data about the angle of the Hinges and their rate of change. For the ant to sense whether it is touching the ground or not we will make use of a Touch sensor. For this we first need to have a physical part of the ants body, that will register a contact. Thats the job of a Site.
Sites are used whenever a certain area of an agents body has physical extent, but is uneffected by the physics of the simulation. For the touch sensor for example, to register a collision, a part of the agent must be cross by an external Thing, but the collision system of mujoco will prevent this from happening. So to make the ants feet sensitive to contact with the ground, we will wrap them with a sphere that is slightly larger then the radius of is leg and attach a sensor to this Site. This way the feet Site can still register touch of the ground while the leg of the ant will still repel it.
>>> foot = blue.sites.Sphere(radius=0.1, sensors=blue.sensors.Touch())
>>> foot = foot.locate(lleg_geom.tail)
>>> torso.all.bodies['lower_leg'].attach(foot)
The second line creates a copy of the foot, that is repositioned at the argument pos. Since we want to position the foot at the end of the leg, we can use the lleg_geom.tail attribute, which returns the end of the lower leg Capsule. Lastly we index the lower legs for attachment of the repositioned foot.
Finally after we have given the ant sensors and actuators, we want to bundle them in an Agent interface, which will later (after the ant is attached to a built World) give us easy access to observation(shapes) and action(shapes). We will also give the ant some color.
>>> ant = blue.Agent(bodies=torso.rotate(gamma=blue.TAU/8))
>>> ant.all.color = 'orange'
Colors can be specified in numerous ways (RGB(A): integer or string hex values, floats \(\in [0, 1]\), common names as strings), see Color for details.
For the agent to be able to move its top level Body freely, instead of being stuck at its initial position, we additionally pass the Free Joints.
>>> ant.attach(blue.joints.Free())
We later want to be able to see the ants interaction with the environment so we will pass a Camera to it, that tracks its movements from a third person perspective.
>>> camera = blue.Camera(x=-3, z=2, name='cam').looking(ant)
>>> ant.attach(camera)
Environment#
Now lets leave the ant be for the moment and create the environment. For this we define a World.
>>> world = blue.World()
We would like our terrain to be rough and uneven to make the ants locomotion a bit more challenging. We will build a track that is 5m wide and 100m long. With a granularity of 10cm that makes height data for a 50×10000 grid. We want our height differences not to be completely random but varing smoothly inbetween so we will make use of the continues perlin noise funtion. Then we can throw the height data into an HField and view it.
>>> resolution = (50, 1000)
>>> heights = blue.perlin(resolution, frequency=3)
>>> blue.geoms.HField(terrain=heights, x_length=100, y_length=5).view()
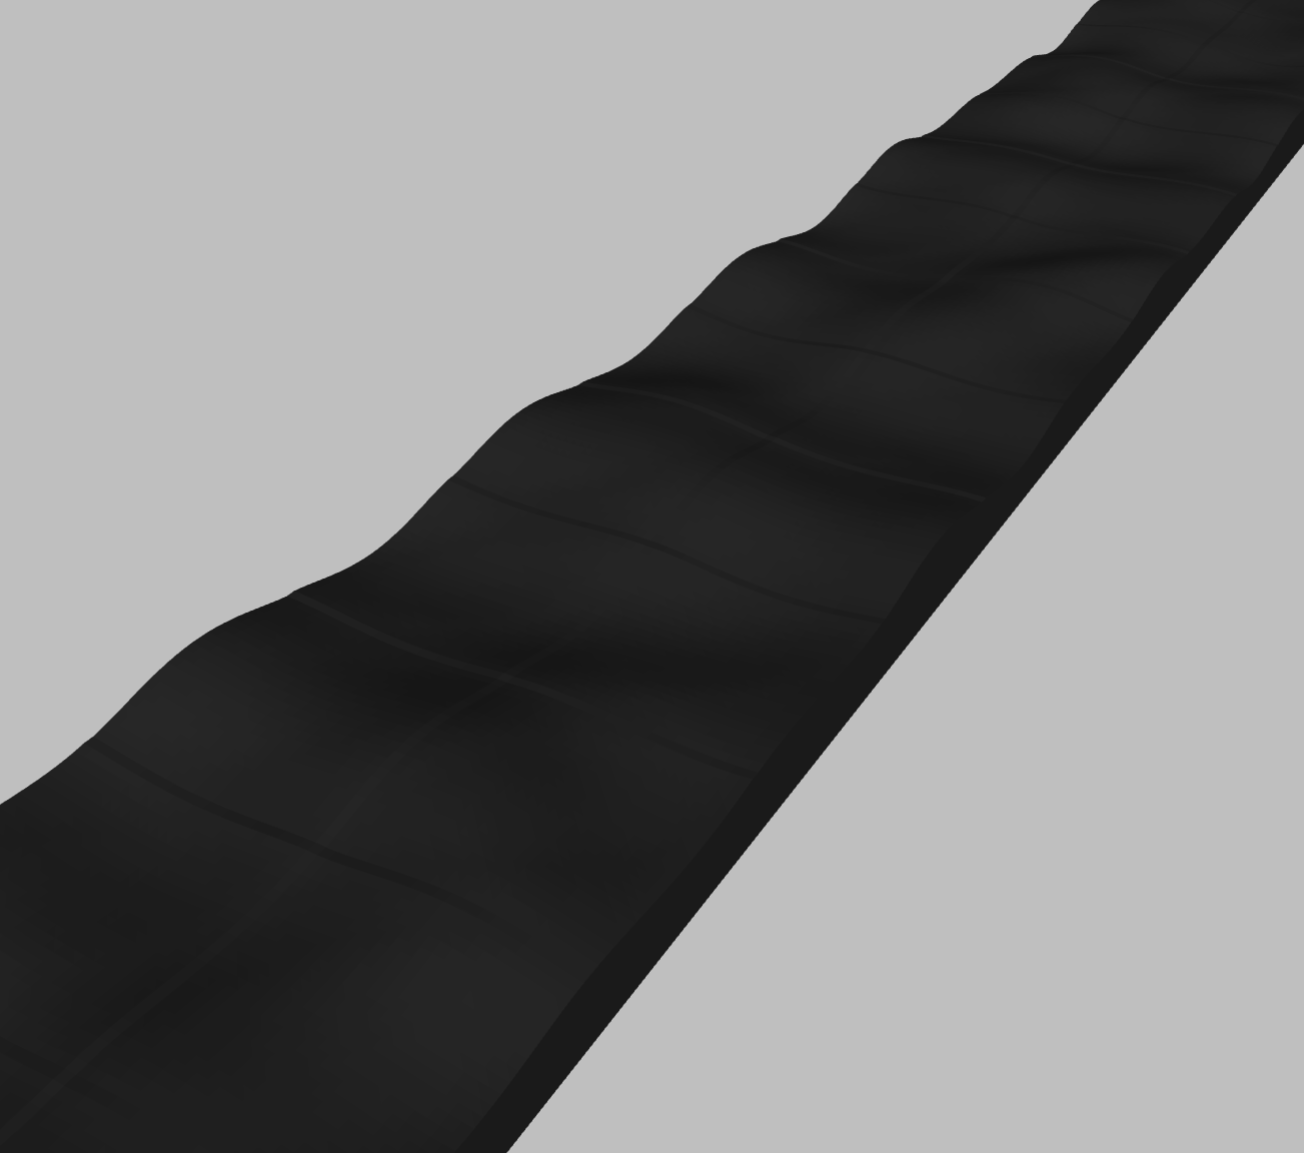
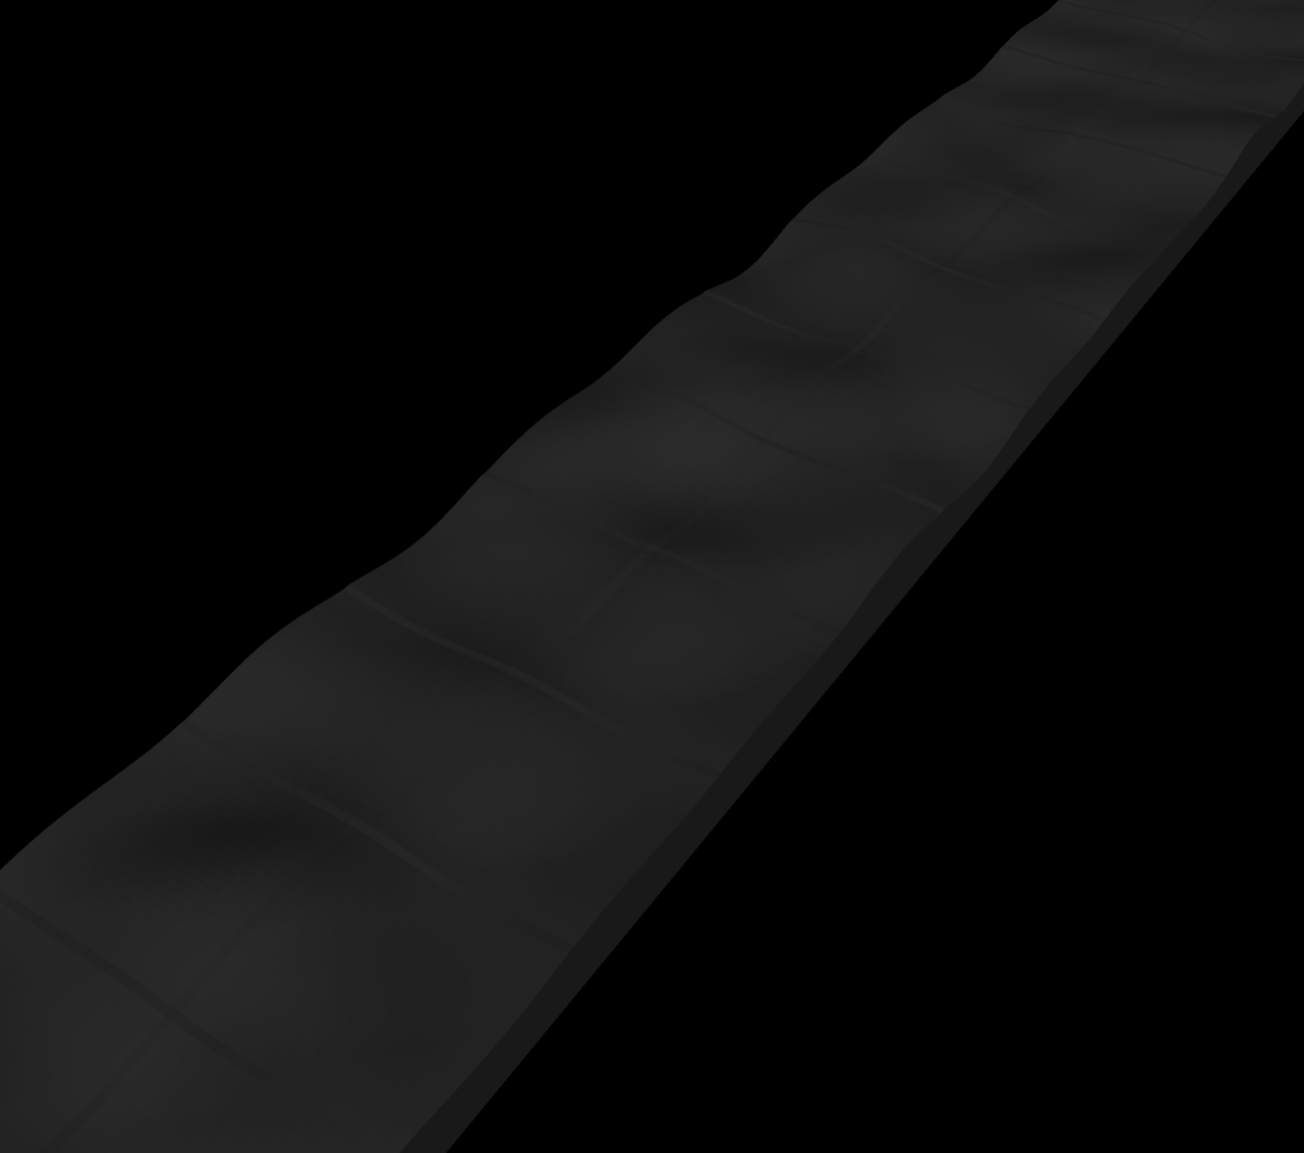
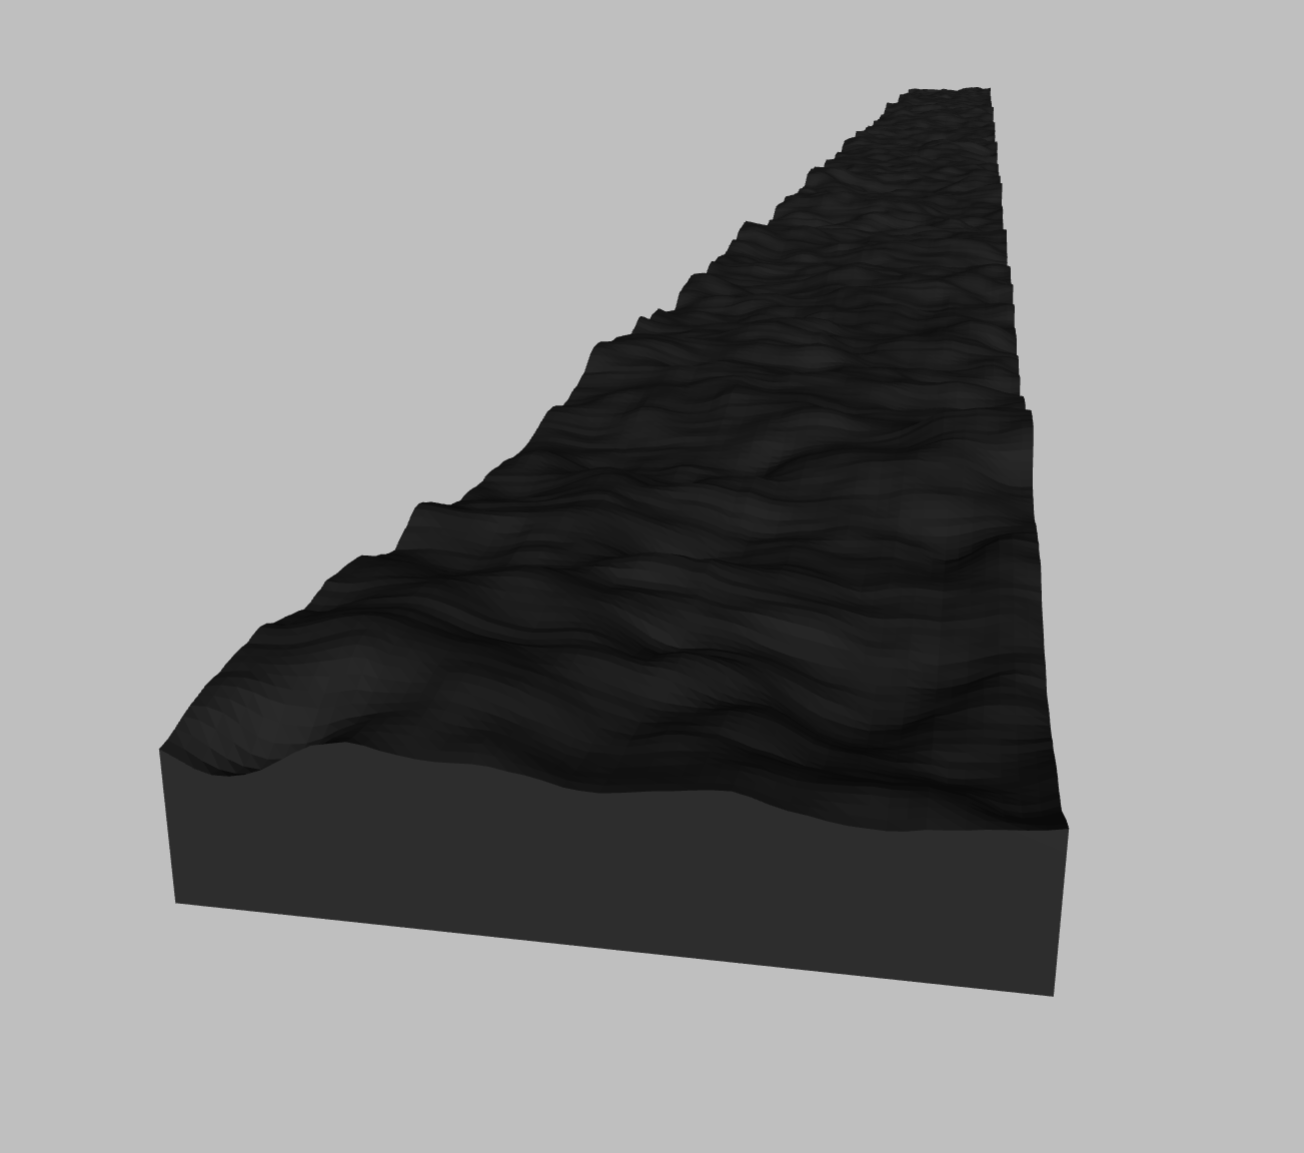
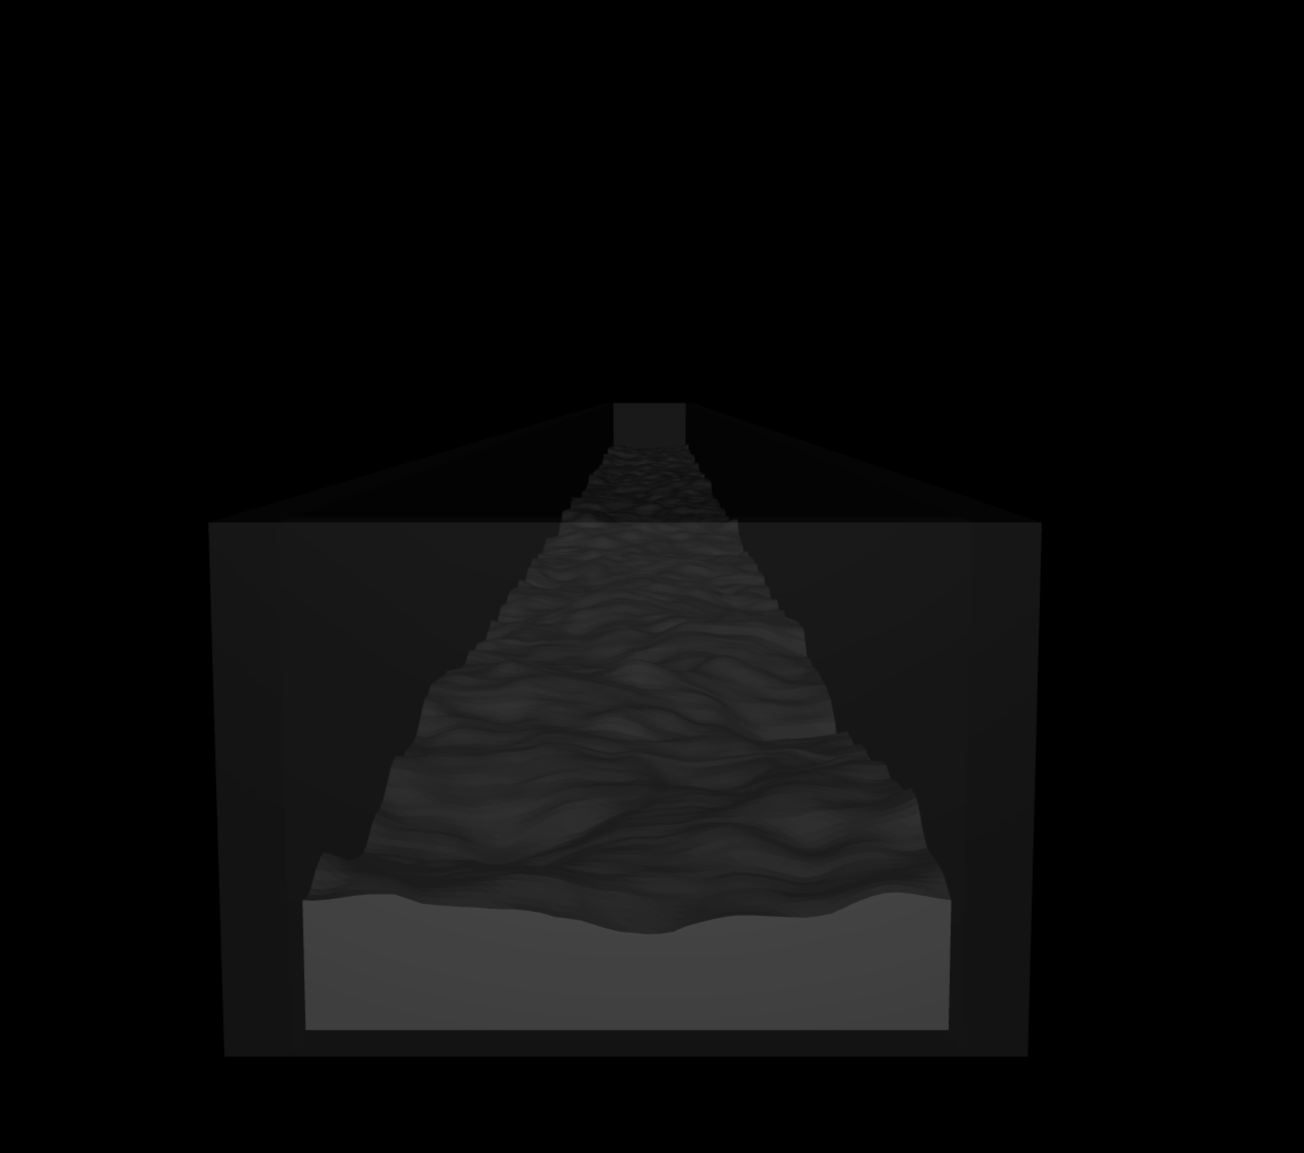
The ground looks a bit to wavy. By adding together perlin noise of different frequencies and magnitudes we can make it a little bit more rough without loosing continuity.
>>> import numpy as np
>>> heights = np.zeros(resolution)
>>> for frequency in range(1, 10):
>>>     heights += 1/frequency * blue.perlin(resolution, frequency)
>>> hfield = blue.geoms.HField(terrain=heights, x_length=100, y_length=5, name='ground')
>>> hfield.view()

We want the friction of the the ground to by sand like, so that actually climbing a gradient is not to slippery of a task.
>>> hfield.sliding_friction = 2
>>> hfield.torsional_friction = 0.5
>>> hfield.rolling_friction = 5
>>> world.attach(hfield)
Important
By attaching a Thing to the World, no copy is created automatically. This is because on the one hand, access to Things that are attached to the World is often useful to keep and second, because there are virtually no usecases of attaching exactly the same Thing multiple times to the World.
>>> hfield
HField<anonymous_hfield:288>
>>> world.geoms['ground'][0]
HField<anonymous_hfield:288>
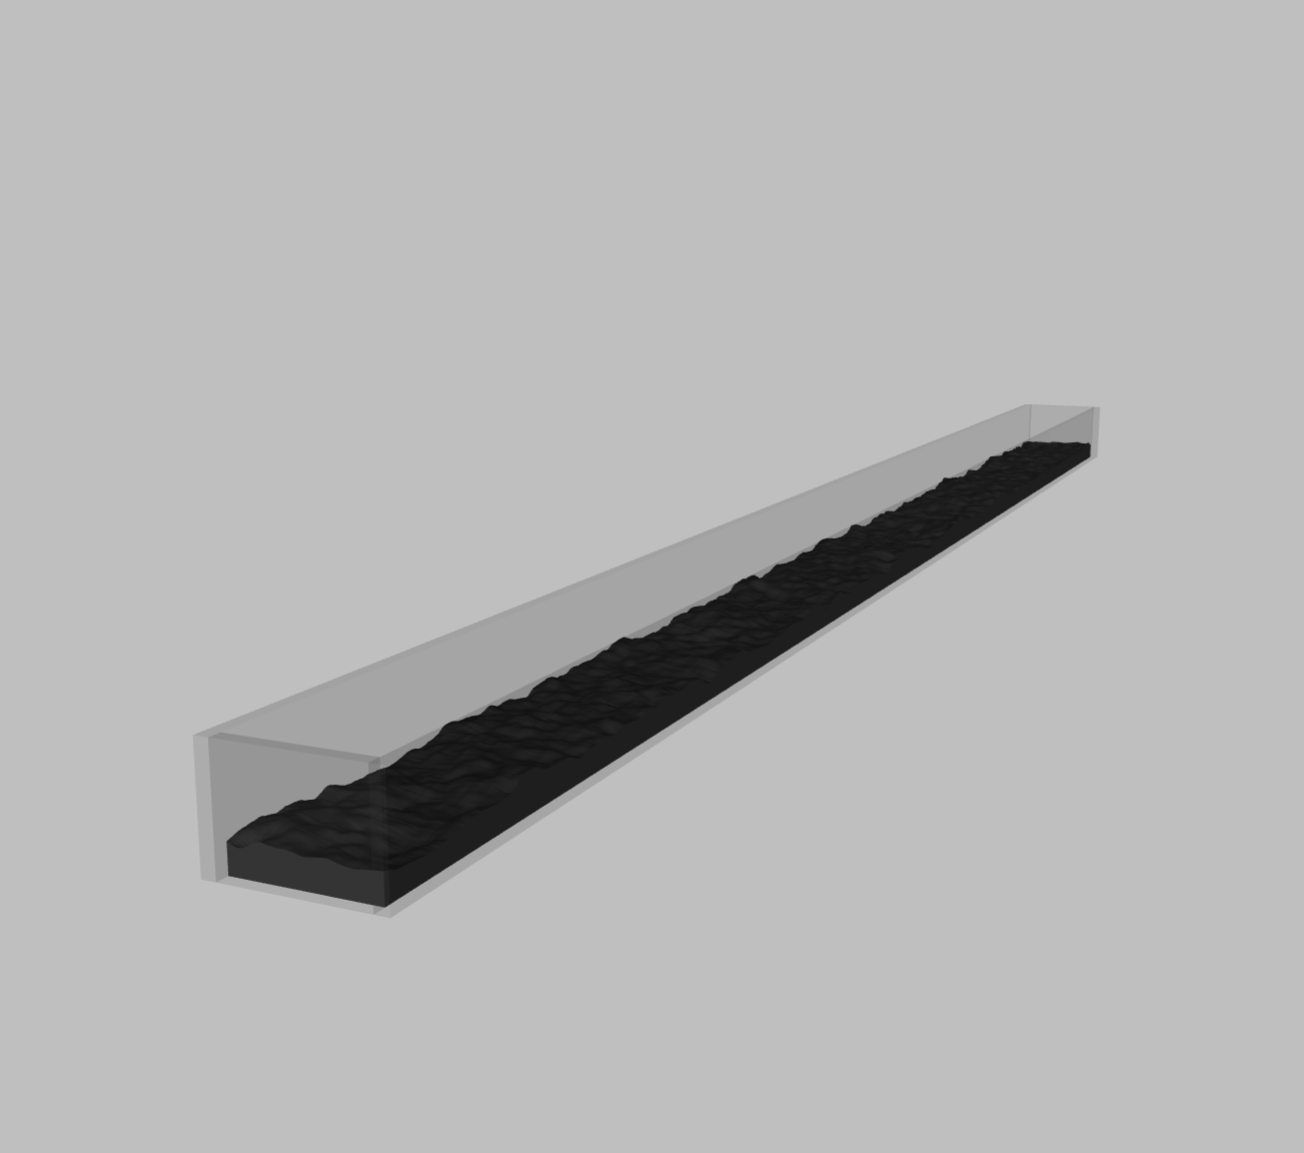
To keep our ant from wandering off its path (it wont have vision) we will build some additional walls around the track.
>>> wall_long  = blue.geoms.Box(x_length=101, y_length=0.5, z_length=4, name='wall')
>>> wall_short = blue.geoms.Box(x_length=0.5, y_length=5.0, z_length=4, name='wall')
>>> world.attach(wall_short.shift(x= 50.25, z=-1.5),
>>>              wall_short.shift(x=-50.25, z=-1.5),
>>>              wall_long.shift(y= 2.75, z=-1.5),
>>>              wall_long.shift(y=-2.75, z=-1.5))
>>> world.all.geoms['wall'].color = 'white'
>>> world.all.geoms['wall'].opacity = 0.1
>>> world.view()
To make the ground more visually fitting, we will define a Texture and a Material to it.
>>> sand_tex = blue.texture.Plane(builtin='flat',
>>>                               mark='random',
>>>                               random=0.3,
>>>                               color_1='#CC9977',
>>>                               color_mark='#BB8866',
>>>                               width=1000,
>>>                               height=50)
>>> sand_mat = blue.Material(texture=sand_tex)
>>> hfield.material = sand_mat
For more details on Materials and Textures refer to the documentation. We now add a Skybox Texture, some Light and a Plane to give the scene a bit more realism.
>>> sky = blue.texture.Skybox(filename='sky.png',
>>>                       grid_layout='.U..LFRB.D..',
>>>                       grid_size=[3, 4])
>>> world.texture = sky
>>> world.attach(blue.Light(z=100))
>>> world.attach(blue.geoms.Plane(color='#CC9977'))
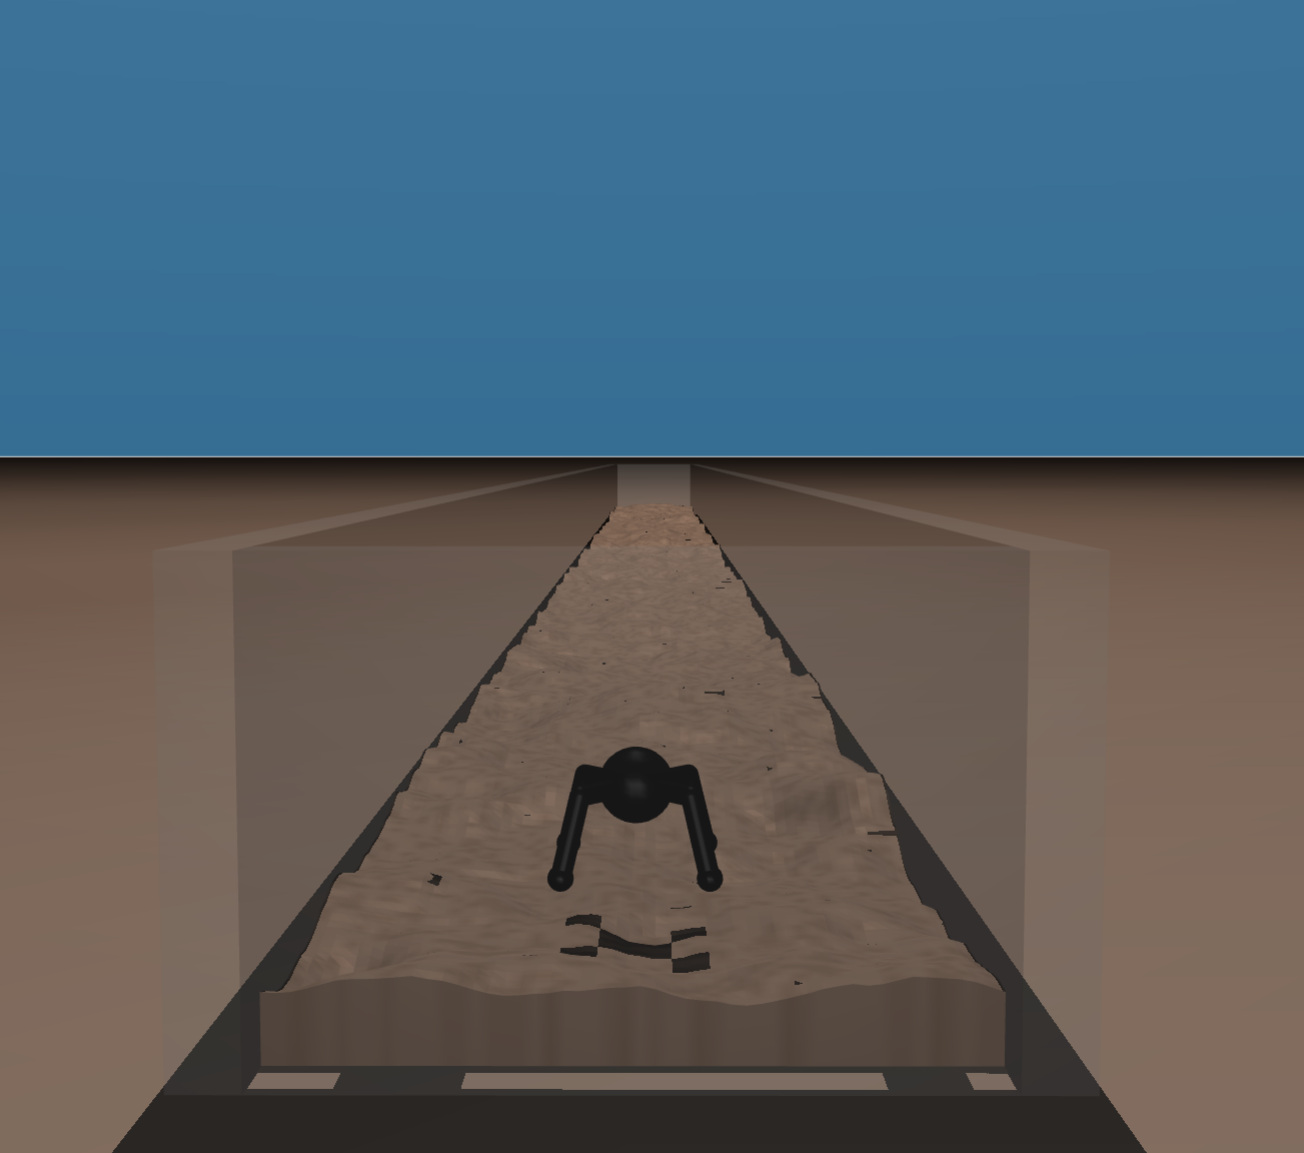
At last we can locate our ant at its starting point.
>>> world.attach(ant.locate(x=-48, z=1.5))
>>> world.view()
Since our goal is to make the environment accessible to reinforcement learning, we want our actions to have a significant effect on the World. Therefore we will set the timestep argument to 0.01 instead of the default 0.002.
As a final last step we have to build the World. This call will construct the Mujoco model and data objects as well as prepare all additional assets referenced by the XML file in an asset directory next to the file we have been writting.
>>> world.build()
Caution
Building with data heavy assets like image textures loads and saves those assets in the corresponding directory on each call of build. This might take a bit. If the World is just to be reset to its initial configuration use World.reset instead.
Now that we have built world we can get access to the runtime data of the simulation using the Agent interface.
>>> ant.observation_shape
{'<Camera>anonymous_camera': (np.uint16(480), np.uint16(480)),
 '<JointPos>anonymous_jointpos_(0)':  (1,),
 '<JointVel>anonymous_jointvel_(0)':  (1,),
 '<JointPos>anonymous_jointpos_(1)':  (1,),
 '<JointVel>anonymous_jointvel_(1)':  (1,),
 '<JointPos>anonymous_jointpos_(2)':  (1,),
 '<JointVel>anonymous_jointvel_(2)':  (1,),
 '<Touch>anonymous_touch_(0)':        (1,),
 ...,
 '<JointPos>anonymous_jointpos_(9)':  (1,),
 '<JointVel>anonymous_jointvel_(9)':  (1,),
 '<JointPos>anonymous_jointpos_(10)': (1,),
 '<JointVel>anonymous_jointvel_(10)': (1,),
 '<JointPos>anonymous_jointpos_(11)': (1,),
 '<JointVel>anonymous_jointvel_(11)': (1,),
 '<Touch>anonymous_touch_(3)':        (1,)}
>>> ant.action_shape
{'activation': 0, 'force': 12}
>>> ant.observation
{'<Camera>anonymous_camera':
 array([[[166, 127, 100],
         [166, 127, 100],
         [166, 127, 100],
        ...,], ..., [...,
         [174, 131, 102],
         [174, 131, 102],
         [174, 131, 102]]], shape=(480, 480, 3), dtype=uint8),
 '<JointPos>anonymous_jointpos_(0)':  array([0.]),
 '<JointVel>anonymous_jointvel_(0)':  array([0.]),
 '<JointPos>anonymous_jointpos_(1)':  array([0.]),
 '<JointVel>anonymous_jointvel_(1)':  array([0.]),
 '<JointPos>anonymous_jointpos_(2)':  array([0.]),
 '<JointVel>anonymous_jointvel_(2)':  array([0.]),
 '<Touch>anonymous_touch_(0)':        array([0.]),
 ...,
 '<JointPos>anonymous_jointpos_(9)':  array([0.]),
 '<JointVel>anonymous_jointvel_(9)':  array([0.]),
 '<JointPos>anonymous_jointpos_(10)': array([0.]),
 '<JointVel>anonymous_jointvel_(10)': array([0.]),
 '<JointPos>anonymous_jointpos_(11)': array([0.]),
 '<JointVel>anonymous_jointvel_(11)': array([0.]),
 '<Touch>anonymous_touch_(3)':        array([0.])}
Gymnasium#
Now that we have a fully functioning blueprints world we want to integrate it into a gymnasium environment.
>>> import gymnasium as gym
We will be subclassing gym.Env and fill in the methods from the class skeleton. For this we need an additional method _create_world to create the World and the agent as well as a _create_terrain method to randomize the hfield terrain on reset.
class Formicarium(gym.Env):
        def __init__(self):
                pass

        def _get_obs(self):
                pass

        def _get_reward(self, action):
                pass

        def reset(self, seed: int = None, option: dict = None):
                pass

        def step(self, action):
                pass

        def render(self):
                pass
The world creation method simply repeats the steps we have outlined in the first part.
def _create_world(self):
        ... # SEE FIRST HALF
        return world, ant, hfield

def _create_terrain(self, seed: int = None):
        if seed is not None:
                np.random.seed(seed)
        resolution = (50, 1000)
        heights = np.zeros(resolution)
        for frequency in range(1, 10):
                heights += 1/frequency * blue.perlin(resolution, frequency)
        return heights
Now we can use the two methods and the Agent interface to define __init__. Since we only have force activated Actuators and only want to use Sensor observation, we use the force and sensor_observation properties of the Agent.
def __init__(self, skip_frames: int = None):
        self.world, self.ant, self.hfield = self._create_world()
        self._n_steps = skip_frames if skip_frames else 1
        # ACTION SPACE
        self.action_space = gym.spaces.Box(low=float('-inf'), high=float('inf'), shape=self.ant.action_shape['force'])
        # OBSERVATION SPACE
        self.observation_space = gym.spaces.Box(low=float('-inf'), high=float('inf'), shape=(sum(i for (i,) in self.sensor_observation_shape.values()),))
Since we are only interested in the Sensor observations, we do not want to render the camera on every time step. So in the _get_obs definition we only use the sensor_observation property.
def _get_obs(self):
        pose = np.concatenate(list(self.ant.sensor_observation.values()))
        return {'pose': pose, 'pos': self.ant.pos}
For the reward computation we take a simplified version of the original Gym Ant v5 and reward movement in the X direction and sanction exadurated forces.
def _get_rew(self, action):
        vel_reward = self.ant.x_vel
        term_reward = 10 if self.ant.x > 45 else 0
        reward = vel_reward + term_reward
        cost = 0.5 * np.sqrt(np.sum(action**2))
        info = {'term': term_reward, 'vel': vel_reward, 'cost': cost}
        return reward - cost, info
Resetting the enviromnent we want to not only return the simulation into its original configuration with World.reset but also include some environment randomization by creating new terrain to make the RL agent more resilient to out of domain tasks.
def reset(self, seed: int = None, options: dict = None):
        if seed is not None:
                np.random.seed(seed)
        self.hfield.terrain = self._create_terrain()
        self.world.reset()
        # RETURNS
        observation = self._get_obs()
        info = {}
        return observation, info
Note
Setting the hfield.terrain will only take effect at the next frame, so to avoid coherence issues with hfield data between the first and all subsequent frames perform world.reset after changing hfield.terrain.
Since our ant only has force actuators (instead of activation actuators) we only need to set Agent.force to apply actions.
def step(self, action):
        # APPLY ACTIONS
        self.ant.force = action
        # UPDATE ENV
        self._last_x = self.ant.x
        self.world.step(self._n_steps)
        # COMPUTE RETURNS
        truncation = self.ant.z < -10 # ANT HAS GLITCHED
        termination = self.ant.x > 45 # ANT HAS TERMINATED
        reward, info = self._get_reward(action)
        observation = self._get_obs()
        return observation, reward, termination, truncation, info
To see what our ant is actually up to during training, we can specify a render method. If you want to record a video directly, have a look at World.start_recording.
def render(self):
        return self.ant.camera_observation
Finally we can register the gym.Env to make it accessable to gym.make('Formicarium-v0'). We specify a maximal number of time steps per episode. We set it to \(10,000\) which means that the ant can comfortably reach the end of the episode by moving at least \(1 \frac{m}{s}\).
>>> gym.register(id='Formicarium-v0',
>>>              entry_point=Formicarium,
>>>              max_episode_steps=10_000)
Thats it! Your new Formicarium environment is now ready to be tackled by your favorite RL algorithms.